Creating an On-Call schedule
Updated
In this guide you will learn:
how to set up an On Call schedule.
how to edit and delete schedules.
On-Call schedules are only available in the Pro plan. Schedules created during a trial will be deleted once the test phase ends.
Overview
How to use the Scheduling Wizard
Plans for the whole team
Go to Teams and select the team of your choice to access the Scheduling Wizard. Then click On Call in the menu bar and click Scheduling Wizard.
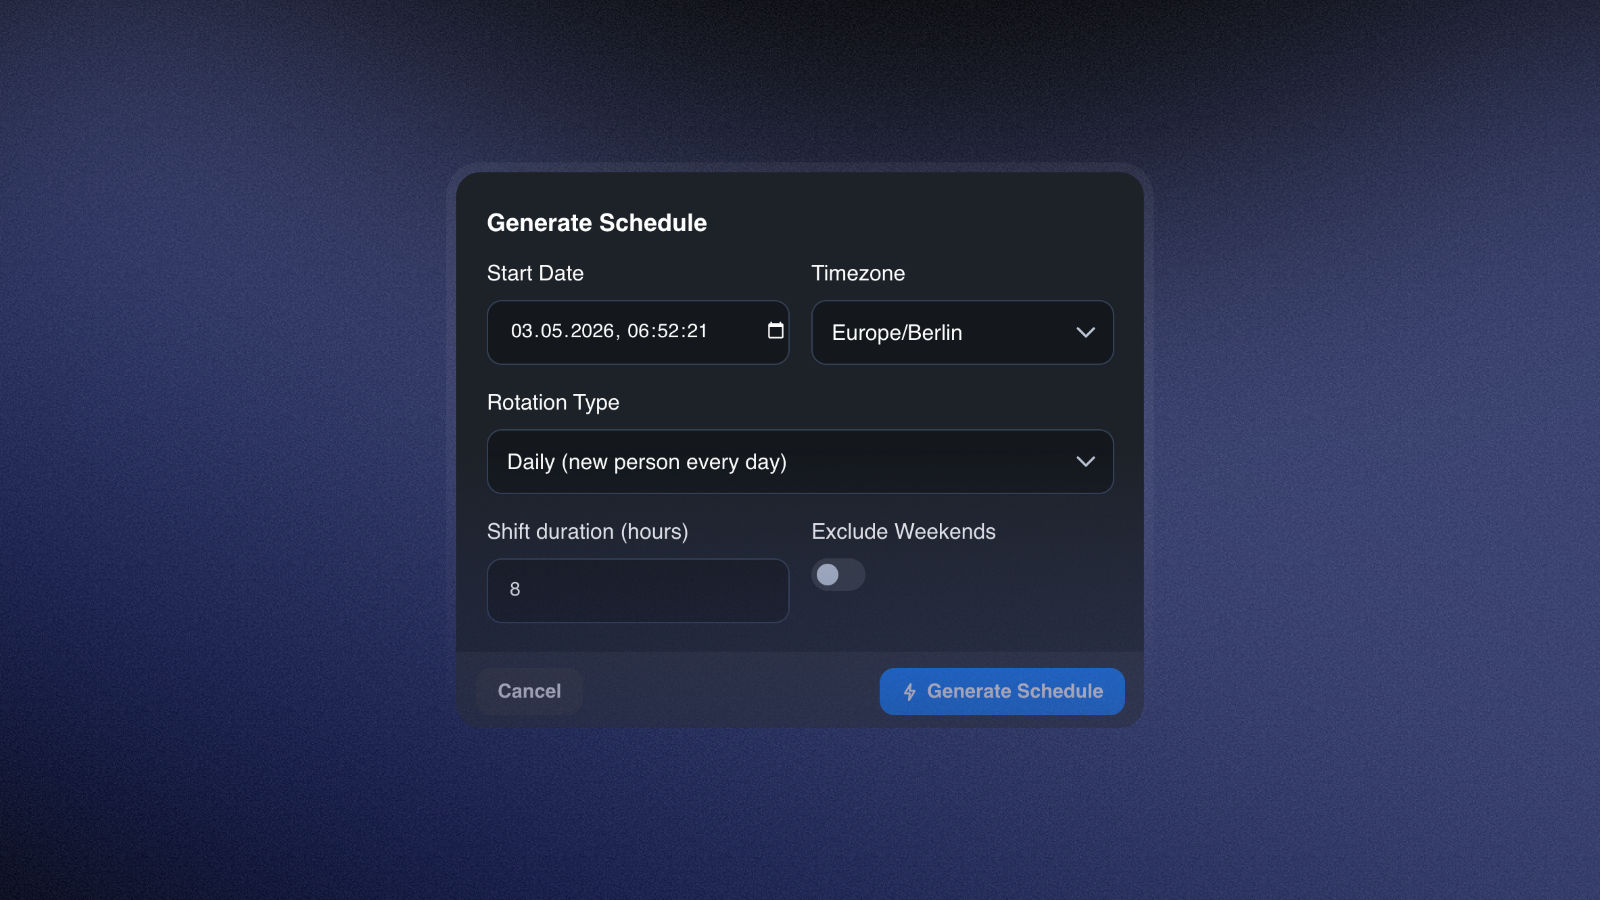
Now select the start date and time when the shift should begin. The timezone is automatically set to the one you previously specified, but it can be changed manually. This is especially useful for teams working in different time zones.
You can choose between the following rotation types:
Daily: The shift is assigned to a different team member every day.
Weekly: A team member keeps a shift for an entire week.
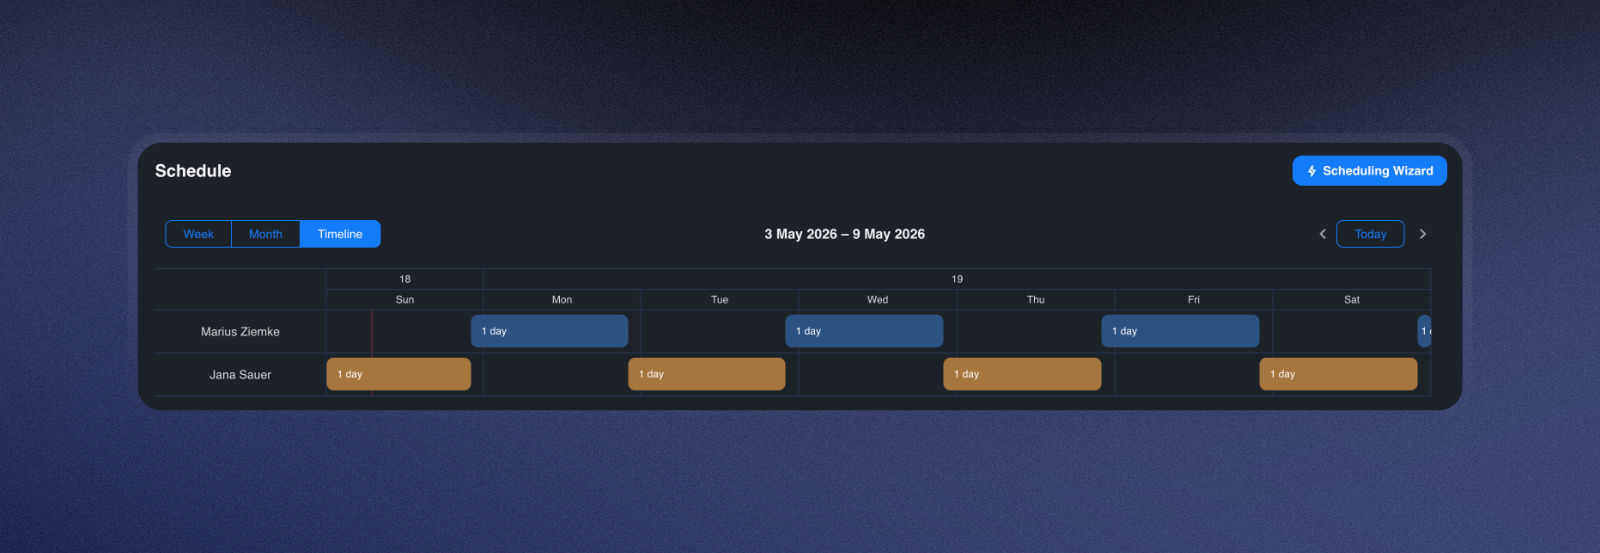
Here is an example of a shift schedule with daily rotation:
Now set the shift duration. By default, weekends are included, but you can choose to exclude them if you prefer.
Plans for individual members
Double-clicking in the column for the desired member will open a form.
Under Team Member, select the person for whom you want to create the shift schedule. Then set the time period and choose whether you want the shift to repeat. The repeat frequency is fully customizable. Under Ends, specify whether and when the shift schedule should end. Now click Save to finalize your On Call schedule.
You can only set the end of an On Call schedule if you select Custom for the repeat rate.
In your team overview, you can now find an overview of your upcoming on-call shifts and the current staffing in the On Call tab.

Editing schedules
Schedule editing and deletion
You can edit shifts by double-clicking or by clicking the three dots that appear when you hover over them. Now select which shift(s) you want to edit:
only the selected shift.
the selected shift and all subsequent ones.
every shift in this schedule.
A screen will then appear that is identical to the one used for creating a custom shift schedule. Here, you can also set the shift duration, frequency, and end time, and save your changes.
On this same screen, you can delete the schedule by clicking Delete in the bottom-left corner.
If you accidentally delete a schedule, you can restore it in the dialog box that appears in the top-right corner for a few seconds. After that, the dialog box disappears and the schedule cannot be restored.
You can also adjust shifts via drag-and-drop in 5-minute increments by hovering over the three dots. Afterwards, you'll be asked which related shifts should be edited as well.